


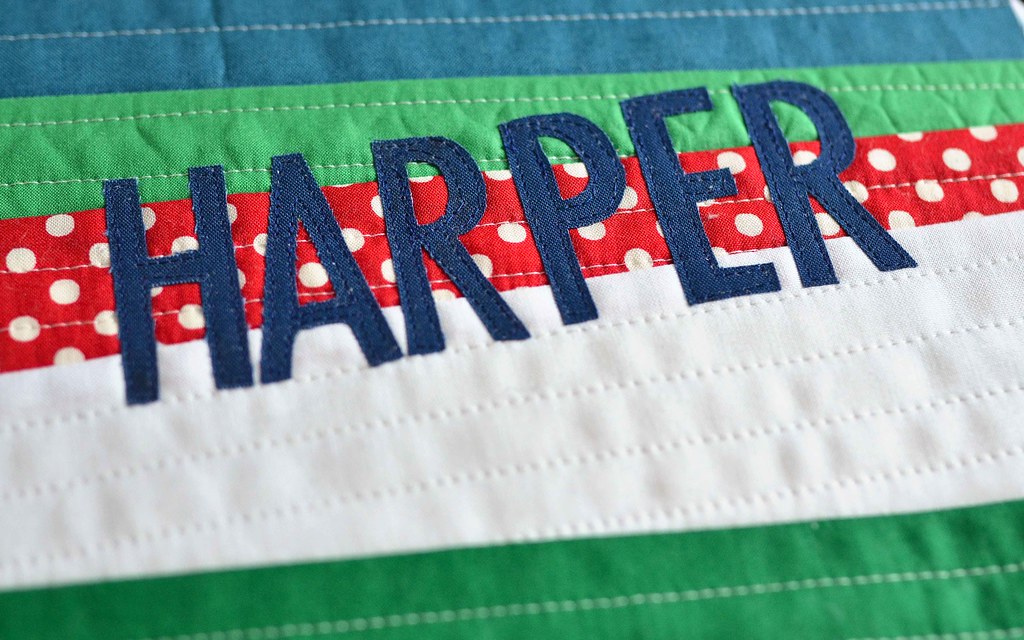
Personalizing Stockings with Raw Edge Machine Appliqué
I thought I would share a little tutorial about how I personalized the Christmas stockings that I recently made for my family. There are about a million ways to do this, but this is the easiest method in my opinion.
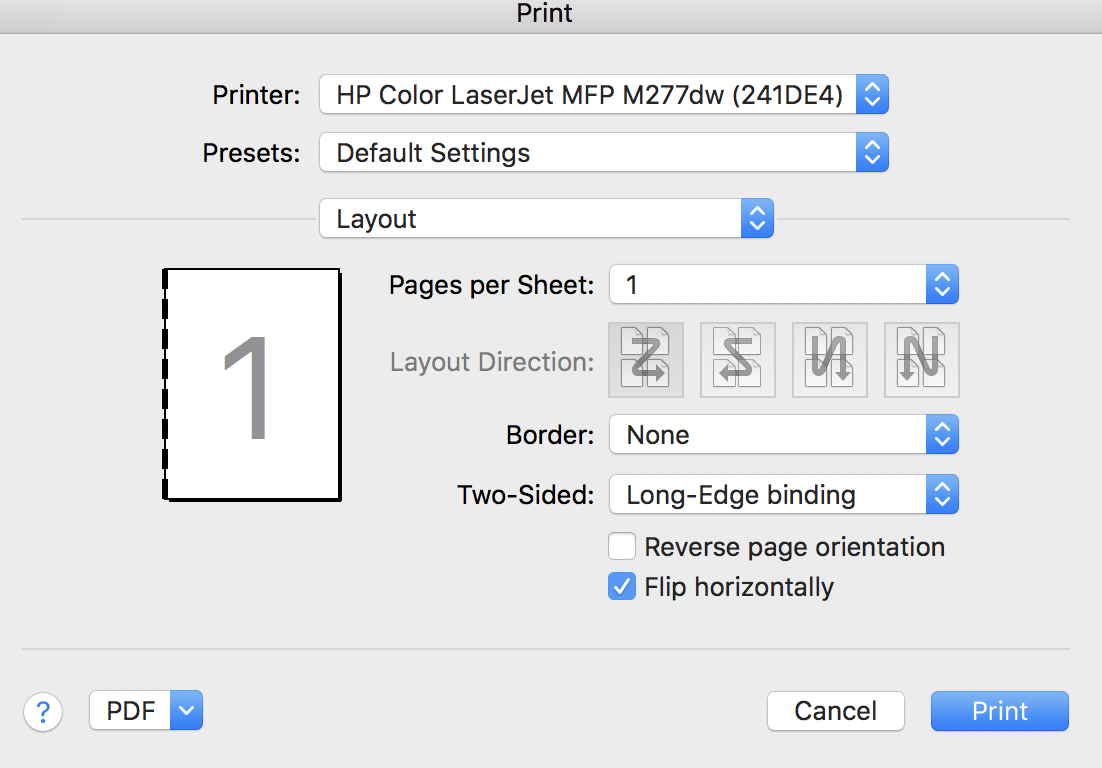
 Print out the names. Somewhere in the print screen there will be the option to "Flip Horizontally." Check the box next to it.
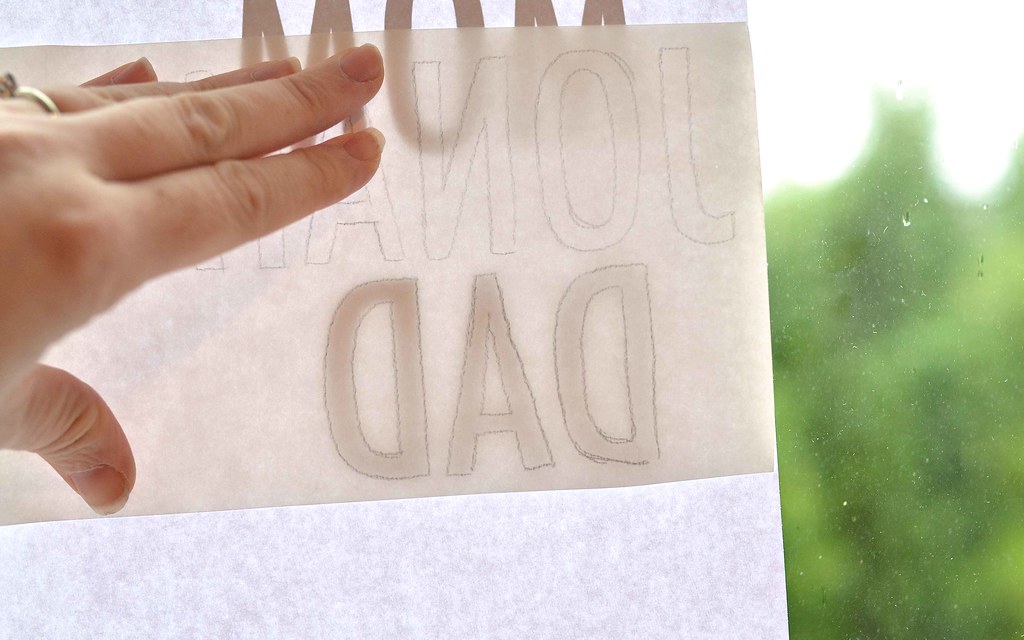
 If you can't figure out how to do this, or if you forget (like I did on several of mine), you can use a window or a light box to trace your letters.
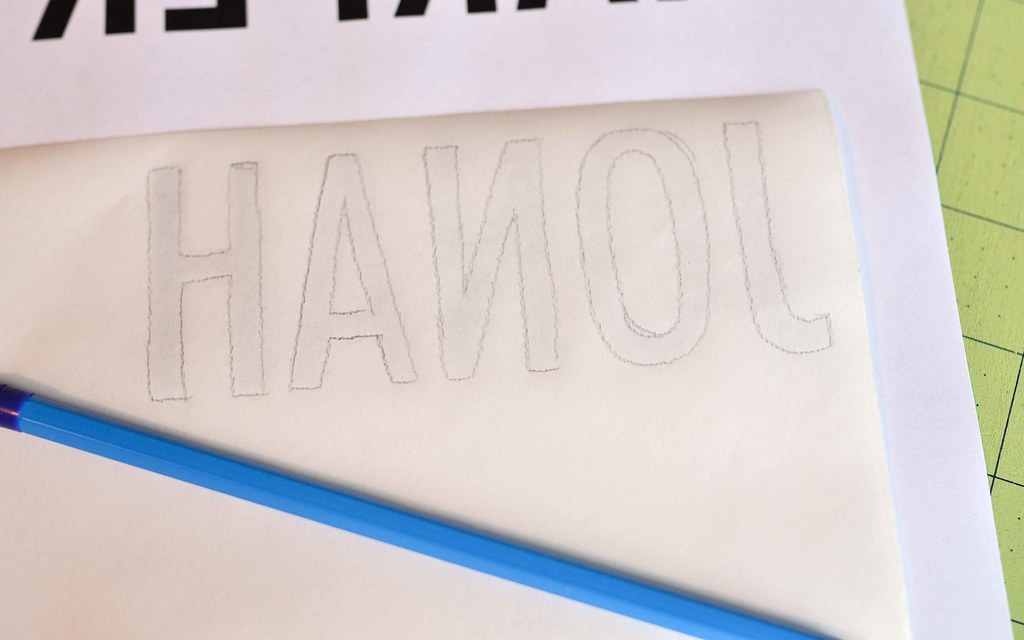
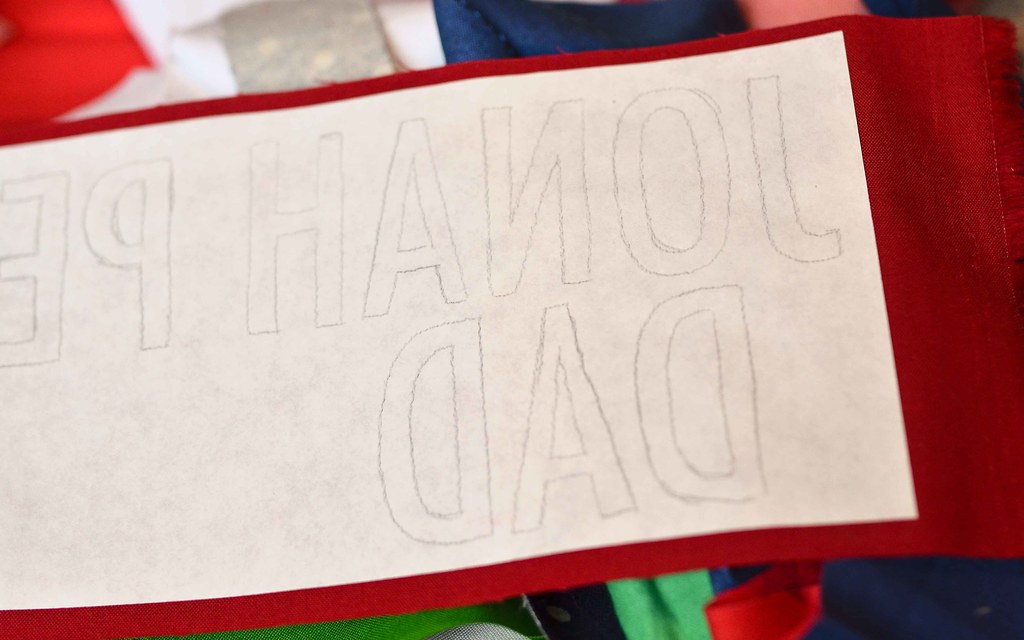
 Cut a piece of Wonder Under that works for your project (I cut mine about 5 inches x WOF) and trace your names onto the smooth (non-adhesive) side. The letters should be backwards.
 Place your Wonder Under on your fabric with the bumpy (adhesive) side facing down. Turn your own onto a low-isa heat. You want your adhesive to stick to the fabric, but you still want to be able to peel off the paper. Press until the paper has adhered.
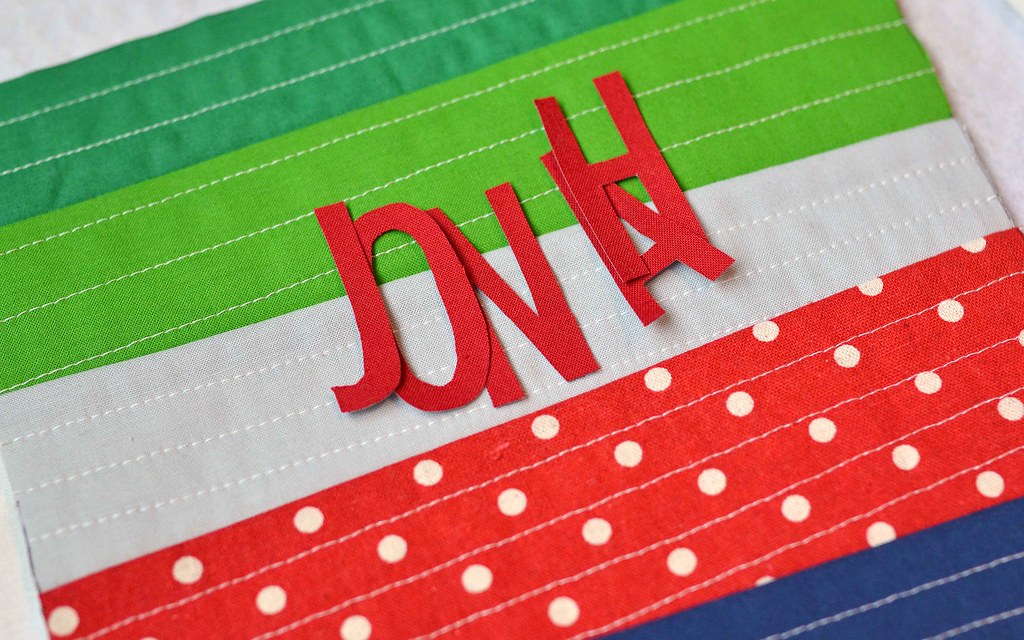
 Cut out the letters carefully.
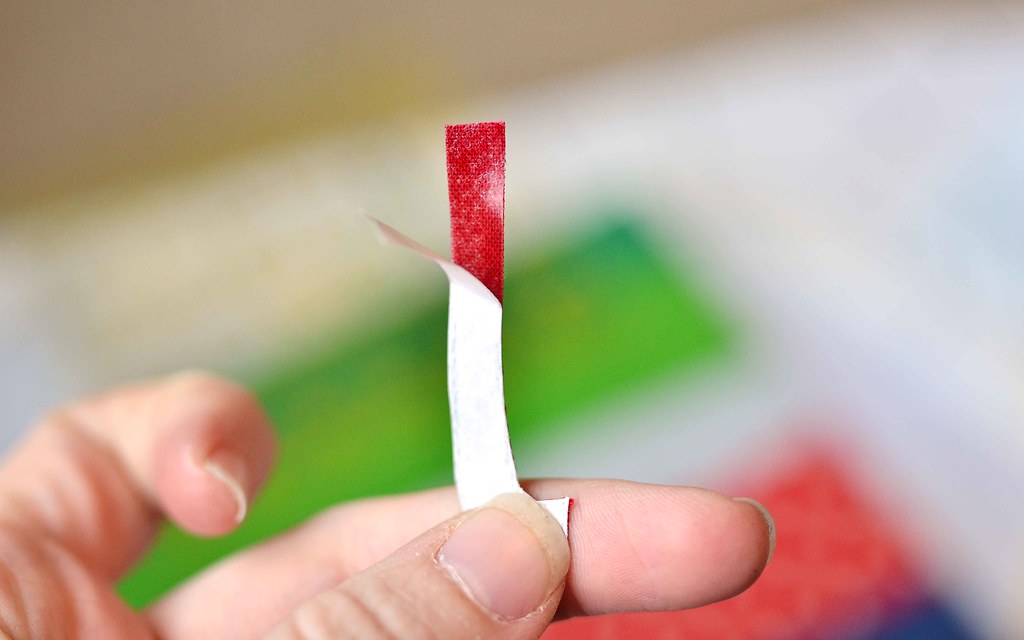
 Then peal the fabric off of the back of each one. Make sure that you are just pulling off the paper, not the adhesive.
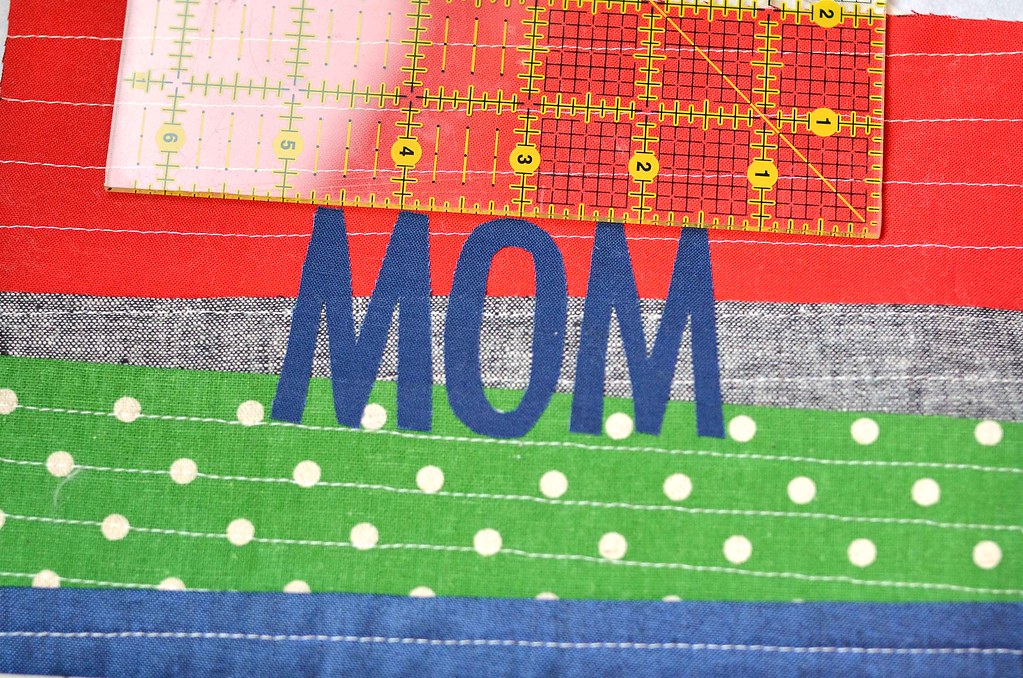
 Use a ruler to line up and evenly space the letters onto your stocking.
 Then turn your iron to a higher heat (whatever you normally use for pressing fabric) and press the letters onto the stocking. Wonder Under requires both heat and pressure to bond fully to the fabric, so make sure to press down. Do this a few times until it seems bonded, being careful not to scorch your fabric.
Choose a thread that matches the fabric you used for your letters. It is important that they are a pretty close match because it helps hide wobbles in your stitching. Troubleshooting tip: if you are having trouble with skipped stitches, try pressing again. You may not have fused it well enough.
At this point you can either use a free motion quilting foot or a walking foot. I like to use my walking foot. Slowly stitch around each letter, making sure to turn the stocking as you to. Backstitch a couple of stitches at the beginning and end of each letter. It is a little tedious to go around the curves, but not hard to do.
And that is it. Your family will love them!
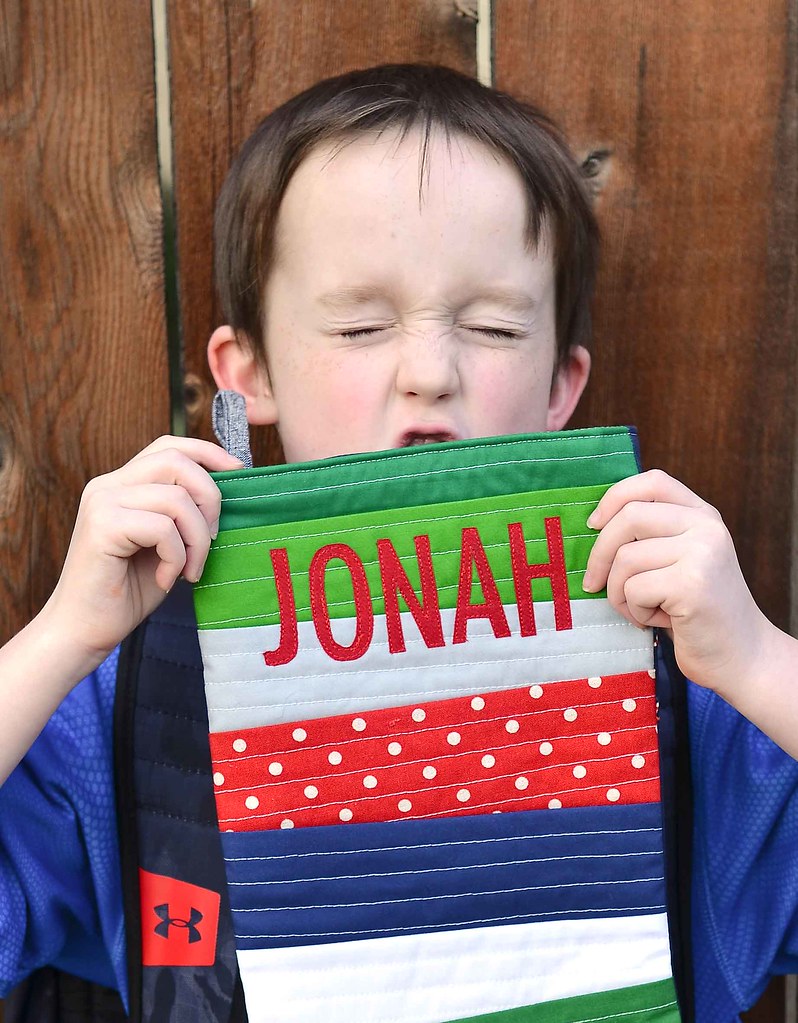
Supplies:
Unfinished Stocking
Fabric for the letters
Thread that matches the fabric
Iron
First, you are going to need to make your stocking. This works best if you add the name before you have assembled the stocking, but after you have piece and quilted the front of the stocking.
Open up a word processing program and type in your names. Pick a font and font size that works for you. I like to use Futura Condensed and the font size that I used on my stockings was 180. You can use any font that you like, but I would advise not using fonts with lots of extra curves and embellishments (you will thank me later).
Choose a thread that matches the fabric you used for your letters. It is important that they are a pretty close match because it helps hide wobbles in your stitching. Troubleshooting tip: if you are having trouble with skipped stitches, try pressing again. You may not have fused it well enough.
At this point you can either use a free motion quilting foot or a walking foot. I like to use my walking foot. Slowly stitch around each letter, making sure to turn the stocking as you to. Backstitch a couple of stitches at the beginning and end of each letter. It is a little tedious to go around the curves, but not hard to do.
And that is it. Your family will love them!